Somebody beatboxed this groove: "boots, ts, cats, ts, boots, ts, cats, ts". A tool turned the recording into drum notes, and you're hearing those notes on a drum synth. It's nearly right. Press play and listen to the seventh hit.
The seventh hit should be a snare. Move it up until it changes drum. How far did it have to move?
Fix what the tool heard
Loading the phrase…
The second "cats" came out as a kick, so the backbeat stumbles. Move that note up two steps and it turns into a snare. Now it sounds like the beat in the beatboxer's head. You'll make that kind of fix a lot in this project, and there's a reason it happens on some hits and not others.
Beatboxing is as old as hip-hop's records. In the 1980s, Doug E. Fresh, billed as "The Human Beat Box", and Buffy of the Fat Boys made it famous, and it's still the fastest way most of us have to get a beat out of our heads. This project takes a groove you beatbox into your phone and turns it into a drum part you can edit, play on real drum sounds and build into sixteen bars.
Before you record: when a tool turns your beatbox into notes, what do you think goes wrong most often, a hit it misses, a hit it gets the wrong drum for, or a hit it puts in the wrong place?
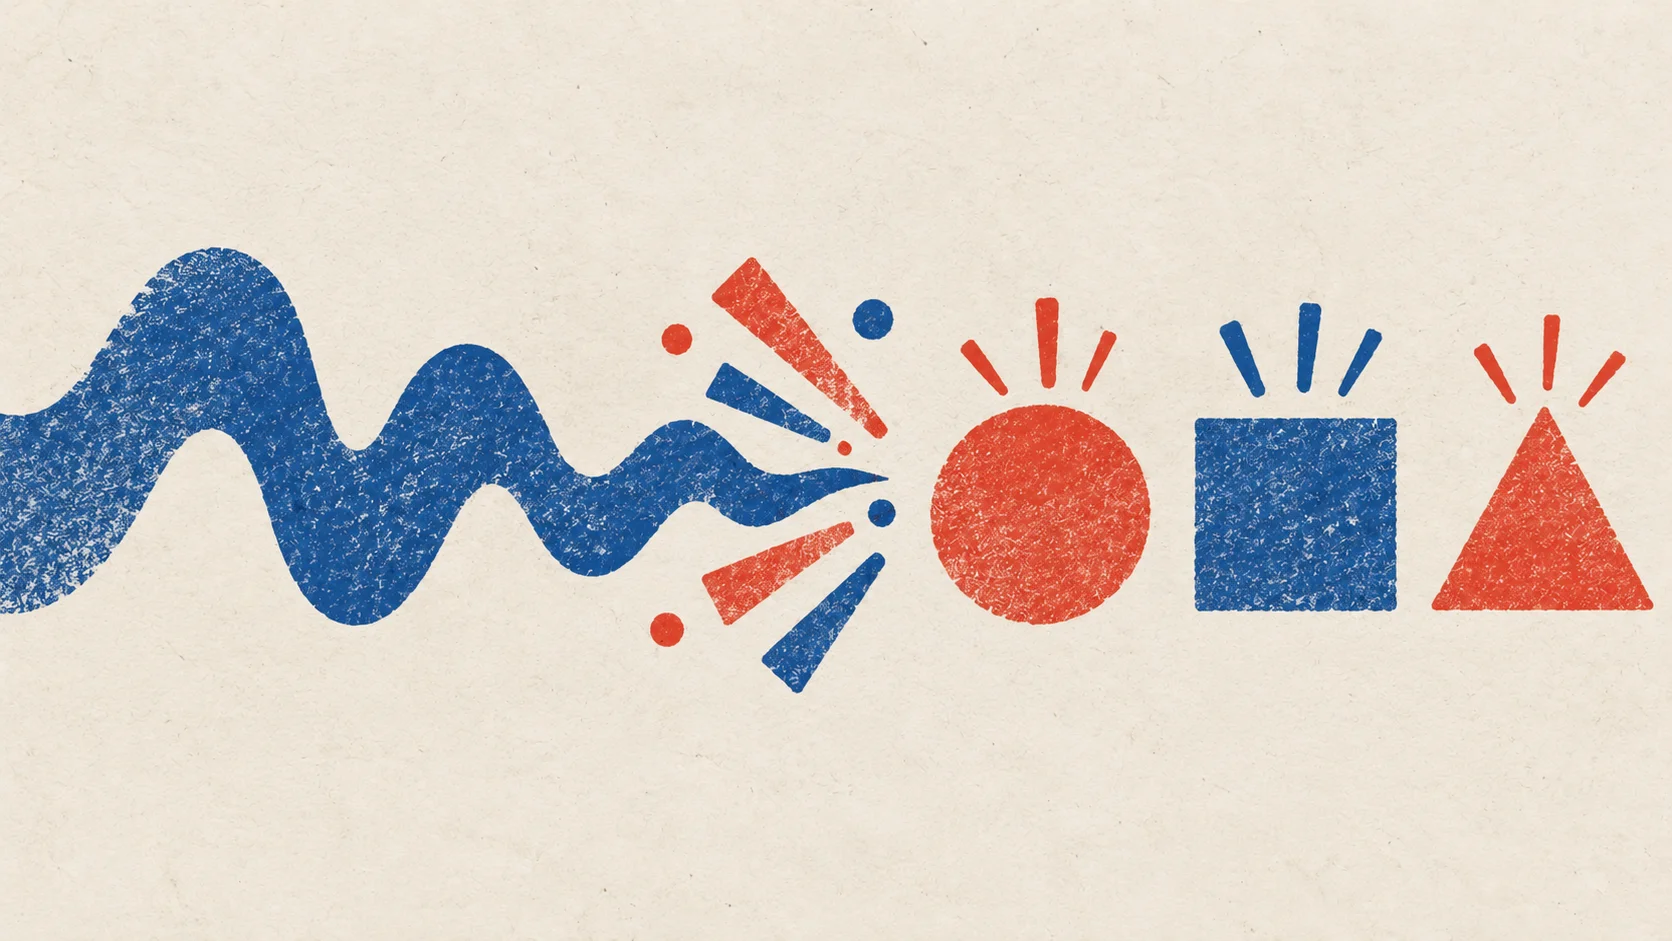
Three questions, not one
Stage 1: Give each drum its own mouth sound
A detector can only tell your sounds apart if they're different enough. So before you perform, design a small code: one mouth sound per drum, as different from each other as you can make them.
The classic set is a good start:
- Kick: "b". A closed-lip burst, low and round. Push air from the chest, not the throat.
- Snare: "k" or "pf". A sharp click or a pushed-air burst through the lips.
- Closed hat: "t" or "ts". A short, high tick from the tip of the tongue.
- Open hat: "tss". The same hat, held a little longer.
The danger is sounds that overlap. A breathy "pf" snare and a long "ts" hat are both hissing noise, and that's exactly where tools mix them up. Exaggerate the difference: make the snare punchy and short, the hat thin and high.
Which mouth sound will you use for each drum, and which pair are you most worried a tool will confuse?
Your sound code
0 of 4 done · saved in this browser
Say your code out loud slowly, one sound at a time, and listen back on your phone. If two of them sound alike to you, they'll sound alike to the tool.
Same idea, different place: the bursts and hisses you just designed are what phoneticians call stops and fricatives. Mouth Synth builds them from a model of a vocal tract, so you can hear a "b" or a "ts" made without a mouth at all.
Checkpoint: a sound for each drum, written down, that you can tell apart on a phone recording.
Stage 2: Record a groove you can hear
Record four to eight bars, close to the phone, in a quiet room. If you can, play a click or a simple metronome in your headphones so you stay at one tempo; it makes Stage 4 much easier. Leave a second of silence before you start and after you stop.
Perform clearly rather than impressively. A bass-heavy beatbox show sounds amazing, but every extra hum and lip trill is something the tool might take for a drum. Save the flourishes for when you've got the basic part working.
Checkpoint: a recording of four to eight bars that you'd happily hear as a drum part. Listen back once and write down the groove in words ("b ts k ts b b k ts"), so you know what the right answer is.
Stage 3: Find the hits
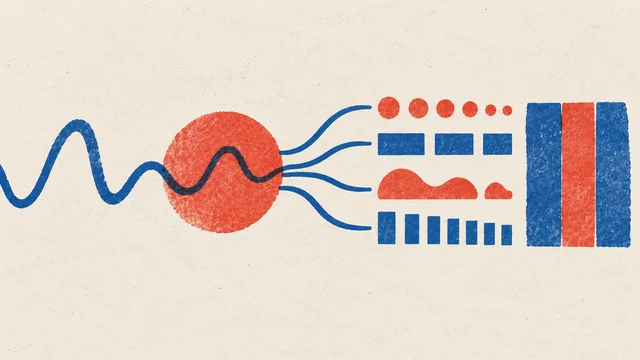
The first question is when each hit happened. Most music software can turn a recording of drums into MIDI; look for a drum mode in its audio-to-MIDI or slicing feature. Under the hood, the first step is onset detection: finding the moments where a new sound starts. The tool follows how much the sound changes from moment to moment and marks a hit wherever that change jumps above a threshold.
Where the tool hears a hit
That threshold is a trade. Set it high and soft ghost notes vanish. Set it low and a breath or a lip smack becomes an extra hit. Most tools call this setting sensitivity. Start in the middle, then compare the hits it found with the groove you wrote down. Fix missing and extra hits now, before you worry about which drum each one is.
Checkpoint: the same number of hits as in your written groove, each at the right moment, even if some are the wrong drum. Audio to MIDI shows the same job on a sung or played melody, where the tool has to find pitches as well as starts.
Stage 4: Name the drums, then line them up
Now the second question: which drum was each hit? This is classification: the tool measures each hit (how low, how bright, how noisy, how long) and puts it in whichever group it most resembles. A "b" is low and short, so it's an easy kick. A "ts" and a "pf" are both bright noise, so they're the pair that gets swapped, like the seventh hit in the opening lab.
Fix those by ear. Play the MIDI on a drum sound alongside your recording, and move any wrong hit to the right drum: in most editors, drag it to the kick note (36), snare (38), closed hat (42) or open hat (46). If one pair keeps getting confused, go back to Stage 1 and make those sounds more different. Fixing the code once beats fixing forty notes.
Then the third question: where does each hit sit in the bar? If you recorded to a click at a known tempo, set that tempo and the bar lines will line up. If you didn't, the tool has to estimate the tempo and the first beat of each bar from the hits themselves. That's beat tracking, and Beat and tempo tracking explains how it works and why its favourite mistake is double or half your tempo. Check that bar 1 starts where you think it does.
Checkpoint: every hit on the right drum, and bar lines where your groove really starts. Now you have a drum part, not a list of noises.
Stage 5: Decide what to straighten
Your beatbox isn't perfectly in time, and that's not all bad. Some of the timing is mistakes; some of it is feel, the slight drag on the snare that makes a beat lazy, or the hat that rushes into the downbeat.
Mistake or feel?
The way to tell is consistency. If every snare is late by about the same amount, that's a lean, and it's probably why the groove felt good when you beatboxed it. If one kick jumps ahead of all the others, that's a slip. So quantize selectively: snap the slips to the grid, and leave the leans alone. Many editors offer a quantize strength; something like 50 to 70% pulls notes toward the grid without flattening them.
Here's the trap. If you quantize everything to 100% and then add random timing back with a humanizer, you replace your feel with noise: random wobble is different on every hit, and your feel is the same lean every time. Keep the real thing. Researchers on Google's Magenta team trained drum models on the Groove MIDI Dataset of recorded drummers to put a human feel onto a tapped rhythm; here the feel is already yours.
Checkpoint: a part where the slips are fixed and the feel is still there. Play it next to the recording; it should sound like your beatbox, only on drums. Rhythm, meter and groove explains why a few milliseconds change how a beat feels.
Stage 6: Choose the drums
Now the fun part. Play the part on different drum sounds: a synthesized kit, a sampled acoustic kit, or one you made yourself in Generate a drum kit. The same notes sound like a different genre on each. A dry, tight kit makes your groove sound like boom-bap; a deep, long kick makes it sound like trap.
Listen for what the drums reveal. A hat you didn't notice in the beatbox can sound loud and busy on a real hi-hat. A soft "k" that was nearly a ghost note becomes a proper snare. Adjust the velocities so the strong hits lead and the in-between hits sit underneath. Now the part sounds played, and it sounds like your idea.
Checkpoint: the part on a kit you like, with velocities that make the accents clear.
Stage 7: Edit what your mouth couldn't play
A drum kit can do things a mouth can't: a kick and a hat at exactly the same time, an open hat that a closed hat cuts short, a snare roll faster than you can say "k". Add a few of these on purpose. Put a closed hat on every eighth note under your kicks and snares, if your beatbox only hinted at them. Add an open hat at the end of a phrase. Put two ghost snares before the backbeat.
Keep the shape of your original. The point is to finish the idea, not to replace it. If an edit makes the groove busier but not better, take it out. Listen for whether the additions fit the groove you beatboxed.
Checkpoint: a full drum part, with your original groove still clearly at its core.
Stage 8: Build sixteen bars
Copy your edited bars to make eight, then make a second eight that changes one thing: the kick pattern in the last bar of each phrase, a half-time section with the snare on beat 3, or a drop where the drums stop for a beat before coming back. End each eight with a short fill.
Play all sixteen bars and then play your original phone recording. Listen for the groove from the ten-second voice memo inside the full drum part. Save the recording, the corrected MIDI and the session together. Next time a beat arrives in your head on the bus, you know exactly what to do with it.
Checkpoint: a 16-bar drum part, saved beside the beatbox it came from.
Quick check
- Every "k" snare in your recording came out as a hi-hat. Is the tool broken? Probably not. Your snare and hat sounds are too similar, both bright and noisy, so the tool put them in the same group. Make the snare shorter and punchier, or the hat thinner and higher, and record again. Moving the notes by hand also works, but fixing the sound fixes every future take.
- Your converted part has a ghost snare missing and two extra hits where you breathed in. What do you change first? The sensitivity, but in small steps and with the groove you wrote down beside you. A lower threshold catches the ghost note and also the breaths; a higher one drops both. Pick the setting that's closest, then delete the leftover extras or add the missing hit by hand.
- After quantizing to 100%, your groove sounds stiff, so you add random humanizing. It still sounds wrong. Why? Your original timing had a consistent lean, like every snare slightly late, and random timing has none. Undo the quantize, snap only the hits that slipped, and leave the lean.
Next steps
- Go deeper: Audio to MIDI. Hum the melody instead, and the tool has a fourth question to answer: which pitch. Here's what that adds, and what it gets wrong.
- Use it: Drum programming. Ghost notes, accents and fills to take your part further.